Cozy Up with an Instant Pot Japanese Cheesecake
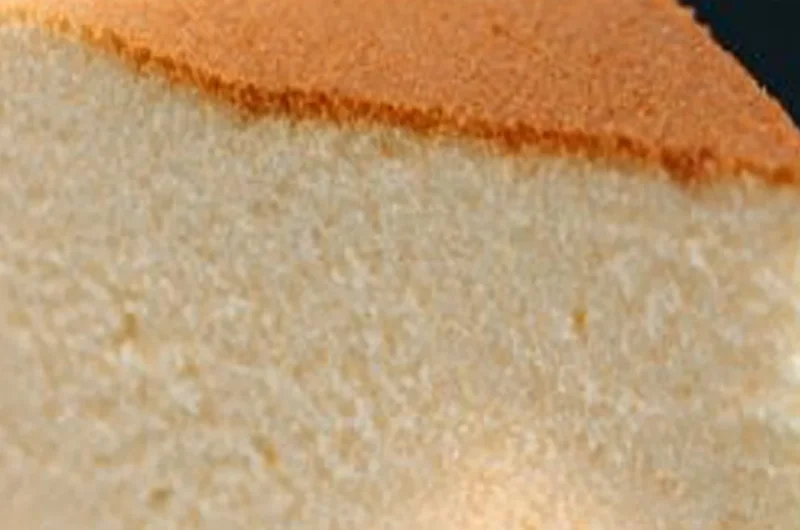
There’s something utterly comforting about sinking your fork into a slice of cheesecake, especially when it’s light, fluffy, and effortlessly creamy. The world of desserts is filled with rich choices, but Japanese cheesecake always seems to hold a special place in my heart. With its tender texture and the delightful hint of sweetness, this dessert transports me back to lazy afternoons spent with my family, sharing secrets and laughter over bites of softness that melt in your mouth.
As the weather cools and golden leaves begin to dance through the air, it feels like the perfect time to indulge in this easy weeknight dessert. If you’ve been yearning for a home-baked treat that’s not only elegant but surprisingly simple to make, you’re in the right place. Grab your Instant Pot, and let’s create a masterpiece that will make you feel all warm and fuzzy inside. This is one you’ll definitely want to pin for later!
Why You’ll Love This Recipe
- Creamy Delight: The airy texture and creamy flavor will have everyone asking for seconds!
- Quick and Convenient: Thanks to the Instant Pot, you’ll have this delicious cheesecake ready in around 20 minutes.
- No-Bake Magic: No chilling for hours in the oven – it’s baked to perfection under pressure!
- Family-Friendly: A dessert that pleases both kids and adults will become an instant favorite at any gathering.
- Impressive Presentation: The fluffy, tall cake looks beautiful on any dinner table, perfect for sharing with loved ones.
What You’ll Need
Gather these simple ingredients for your Instant Pot Japanese Cheesecake:
- 3 large eggs
- 4 ounces cream cheese
- 4 ounces white chocolate
- 1 tsp orange extract (optional for zest)
- 1 1/2 cups water (for the Instant Pot)
Let’s Make It Together
- Start by leaving your cream cheese out of the fridge for about 1 hour before cooking. This allows it to soften and mix beautifully.
- Carefully separate the yolks from the egg whites. Let the egg whites rest in the fridge until it’s time to use them; this helps in creating that fluffy texture.
- Melt the white chocolate in the microwave. Stir until smooth and warm, then mix this decadent chocolate into the softened cream cheese, creating a creamy base.
- Add the egg yolks and orange extract to the bowl, stirring again until you achieve a soft and homogeneous batter. The orange extract can provide a lovely, zesty touch!
- In a separate bowl, take those cold egg whites and beat them with an electric mixer until they turn stiff and glossy. This step is crucial for the lightness of your cake!
- Carefully fold the beaten egg whites into your cream cheese mixture, ensuring not to over-mix. You want to maintain that fluffiness for a tender texture.
- Line a cake pan with parchment paper — don’t skip this step, as it will help with easy removal later.
- Pour your lovely batter into the prepared cake pan and cover the top with foil.
- In your Instant Pot, pour in 1 1/2 cups of water and place a trivet in the bottom.
- Set your cake pan on top of the trivet, close the lid, and cook at high pressure for 17 minutes.
- When the timer goes off, let the pressure release naturally. This gentle approach ensures your cake retains its delicate structure.
- Once you can safely open the lid, carefully remove the pan from the Instant Pot.
- Allow the cheesecake to cool down to room temperature and then refrigerate for at least 2 hours before serving.
Delicious Variations to Try
- Chocolate Bliss: Incorporate some cocoa powder into the batter for a chocolate twist, or drizzle with chocolate ganache before serving for extra indulgence.
- Berry Delight: Top with fresh berries like strawberries or raspberries for a touch of tartness that complements the sweet cheesecake beautifully.
- Nutty Crunch: Add crushed nuts, such as hazelnuts or almonds, for a wonderful crunchy texture that contrasts with the creaminess of the cake.
- Citrus Spark: Try replacing the orange extract with lemon or lime zest for a refreshingly tart flavor.
Chef Emma’s Helpful Tips
- Make-Ahead Option: This cheesecake can be made a day in advance! Just store it in the fridge, and it will be just as delightful the next day.
- Ingredient Swaps: Don’t hesitate to use a lower-fat cream cheese for a lighter option; just note that the texture may vary slightly.
- Slicing Trick: To achieve perfect slices, dip your knife in hot water before cutting! Wipe it clean between slices for neat edges.
- Storage Suggestion: Store any leftover cheesecake in an airtight container in the fridge for up to 4 days.
What’s Inside – Nutrition Breakdown
- Serving Size: 1 slice
- Calories: 210
- Carbohydrates: 14g
- Sugar: 7g
- Fat: 15g
- Protein: 4g
- Sodium: 120mg
Frequently Asked Questions
- Can I make this ahead? Absolutely! It’s a great make-ahead dessert that can sit in the refrigerator for a day or two without losing its wonderful flavor.
- Can I use different ingredients? Yes! Feel free to experiment with different types of chocolate or flavored extracts to suit your taste.
- How do I store leftovers? Keep your cheesecake in an airtight container in the refrigerator for up to 4 days.
- How long does it last? If properly stored, it can last up to 4 days; however, I bet you’ll finish it long before then!
A Cozy Closing Note
This Instant Pot Japanese Cheesecake is not just a recipe; it’s a beautiful way to create cozy memories with family and friends. It’s light yet oh-so-satisfying, making it the perfect finish to any meal or an indulgent treat all on its own. So the next time you’re in the mood for something sweet, remember this delightful recipe. Save this Instant Pot Japanese Cheesecake to your dessert board so it’s ready when you need a cozy treat! Happy baking!